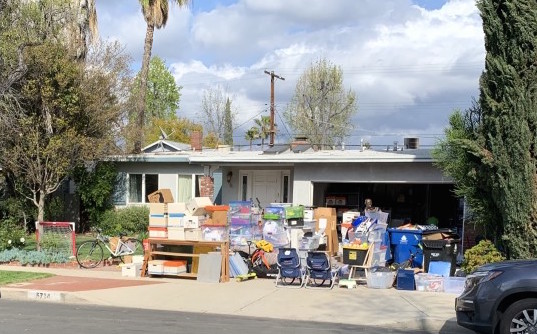
Probably the two most dreaded areas of the home to organize are the garage and the basement. There are boxes and piles of things there that haven’t seen the light of day in years. It’s a good idea to invest in some large garbage bags, and just get rid of anything you don’t need anymore. It’s hard, but once you get started, it does get easier.
Once you get down to the items you need to keep, you can start planning your storage strategies. It’s important to invest in containers that protect your belongings from moisture, mildew, and the occasional pest. Once you get everything pulled out, cleaned up, and organized into boxes it’s a great time to give the floors and walls of your space a good scrubbing before you put everything back.
Sort items according to how you use them. Are they seasonal? Are they baby items being saved for a younger sibling or cousin? Are they simply sentimental things you don’t use on a regular basis, but can’t stand to part with? These things can be stored in labeled boxes either toward the back or top of storage areas.
If there are items you need to access more often you should store them where they are easily accessible – for instance open shelves or cabinets. There are many do-it-yourself storage units that are perfect for basements or garages. They are metal or plastic, so they stand up to less than perfect conditions.
When storing things in the garage, again, it’s best to store them based on when you need them. Have a system where you can rotate seasonal items to where you can get to them easily. There are overhead storage shelves made especially to work in a garage. Before you purchase one, make sure it will work with your garage door.
Many items, like tools, can be organized on a pegboard, where it is very easy to customize the space, by arranging hooks to fit your needs. This helps clear up space on workbenches, as well.
Used baby food jars and a thick shelf on the wall is a favorite old-time nut and bolt organizing solution. Get a nice one-inch thick board, about one foot deep and two feet wide. Use an awl to poke a hole in the lid of the baby jars and then use a short screw to affix the jar lids to the bottom of the board and use a simple pair of shelf brackets screwed firmly into the wall to support it at eye level. Now you can put your little screws and nails into the baby jars and twist them into place under the shelf. And you have two extra feet of shelf space.

